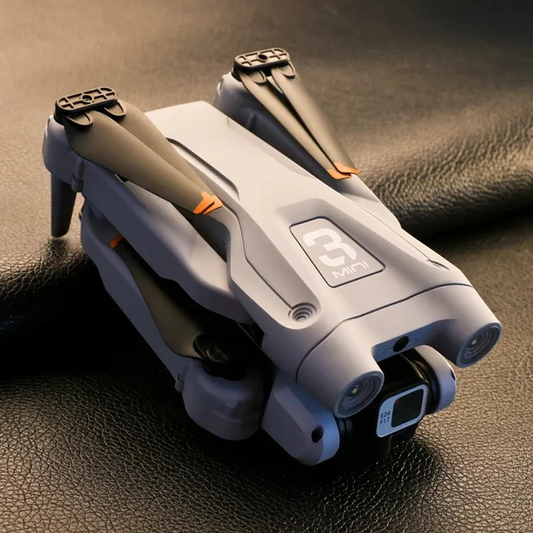
DIY Drones: Build Your Own Aerial Camera
In recent years, the allure of drones has captured the imaginations of hobbyists and professionals alike. Whether you're fascinated by aerial photography or simply enjoy tinkering with technology, building your own aerial camera drone can be a rewarding project. Not only does it offer a deeper understanding of drone mechanics and operations, but it also allows you to customize your drone to suit your specific needs and preferences.
Why Build Your Own Aerial Camera Drone?
Building a DIY drone offers several advantages over purchasing a ready-made model. First and foremost, it provides an opportunity for hands-on learning and skill development. Understanding the intricacies of drone assembly, from choosing the right components to calibrating flight controllers, enhances your knowledge of drone technology.
Moreover, building your own drone allows for customization. You can select components that best fit your requirements, whether it's for extended flight times, higher payload capacity, or specific camera capabilities for aerial photography. This level of customization is often not possible with off-the-shelf drones, which are designed to cater to a broader audience.
Essential Components for Your DIY Aerial Camera Drone

Before diving into the construction process, it's crucial to familiarize yourself with the essential components of a DIY aerial camera drone:
Frame: The frame serves as the skeleton of your drone, providing structural support and housing for other components. Frames come in various sizes and materials, such as carbon fiber for lightweight and durability.
Flight Controller: This is the brain of your drone, responsible for stabilizing the aircraft and interpreting your commands from the transmitter. Popular options include flight controllers from brands like DJI or open-source alternatives like Pixhawk.
Motors and Propellers: Motors provide the thrust necessary for flight, while propellers convert motor torque into thrust. The choice of motors and propellers depends on factors such as drone size, payload, and desired flight characteristics.
Electronic Speed Controllers (ESCs): ESCs regulate the speed of each motor based on signals from the flight controller. They ensure smooth and responsive flight maneuvers.
Battery and Power Distribution: LiPo (Lithium Polymer) batteries are commonly used for drones due to their high energy density. Proper power distribution ensures stable voltage supply to all components during flight.
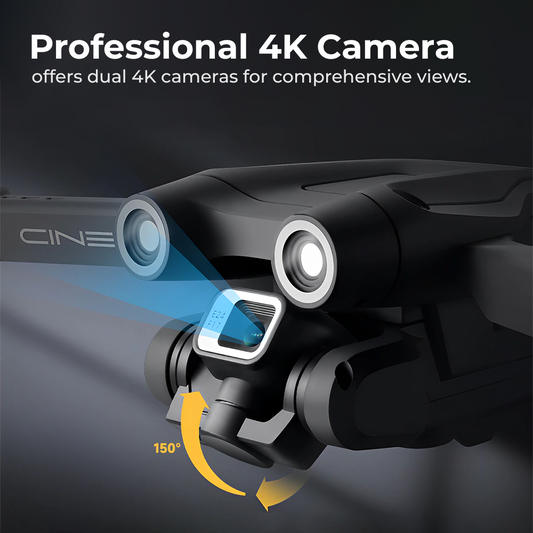
Camera and Gimbal: For aerial photography, selecting a suitable camera and gimbal is crucial. Options range from action cameras like GoPro to dedicated drone cameras with integrated gimbals for stabilized footage.
Step-by-Step Guide to Building Your DIY Aerial Camera Drone
Step 1: Research and Planning
Begin by researching different drone designs and components that align with your goals. Consider factors such as budget, intended use (e.g., photography, racing), and your level of expertise in electronics and assembly.
Step 2: Gather Components
Once you have a clear plan, gather all necessary components and tools. Ensure compatibility between components, especially between the flight controller, motors, and ESCs.
Step 3: Assembly
Follow the manufacturer's instructions and assembly guides for each component. Start with mounting the motors on the frame, installing ESCs, and connecting them to the flight controller. Securely attach the battery and ensure all connections are properly soldered and insulated.
Step 4: Install and Configure Flight Controller
Install the flight controller and configure it according to your drone's specifications. This involves calibrating sensors, setting up flight modes, and adjusting PID (Proportional-Integral-Derivative) settings for stable flight performance.
Step 5: Camera and Gimbal Setup
Mount the camera and gimbal on your drone, ensuring proper balance and alignment for smooth aerial footage. Test the gimbal's stabilization and camera settings before flight.
Step 6: Testing and Calibration
Perform initial tests in a controlled environment to ensure all components are functioning correctly. Calibrate the drone's compass, accelerometer, and GPS (if applicable) to optimize flight performance and reliability.
Step 7: Maiden Flight and Fine-tuning
Take your drone for its maiden flight in an open, safe area. Start with short flights to assess stability and control responsiveness. Fine-tune PID settings and flight parameters based on your flight experience.
Building your own aerial camera drone is a fulfilling journey that combines technical expertise with creativity. By understanding the components and processes involved, you not only gain a deeper appreciation for drone technology but also create a personalized aerial platform tailored to your needs. Whether you're capturing breathtaking landscapes or exploring new perspectives, a DIY drone empowers you to elevate your photography and drone piloting skills. Start your DIY drone project today and embark on a rewarding adventure in the skies.
By following these steps and recommendations, you can confidently embark on your journey to build a DIY aerial camera drone that meets your expectations and enhances your aerial photography experience.
Explore a variety of drones at our online drone store.
Happy Flying!


